
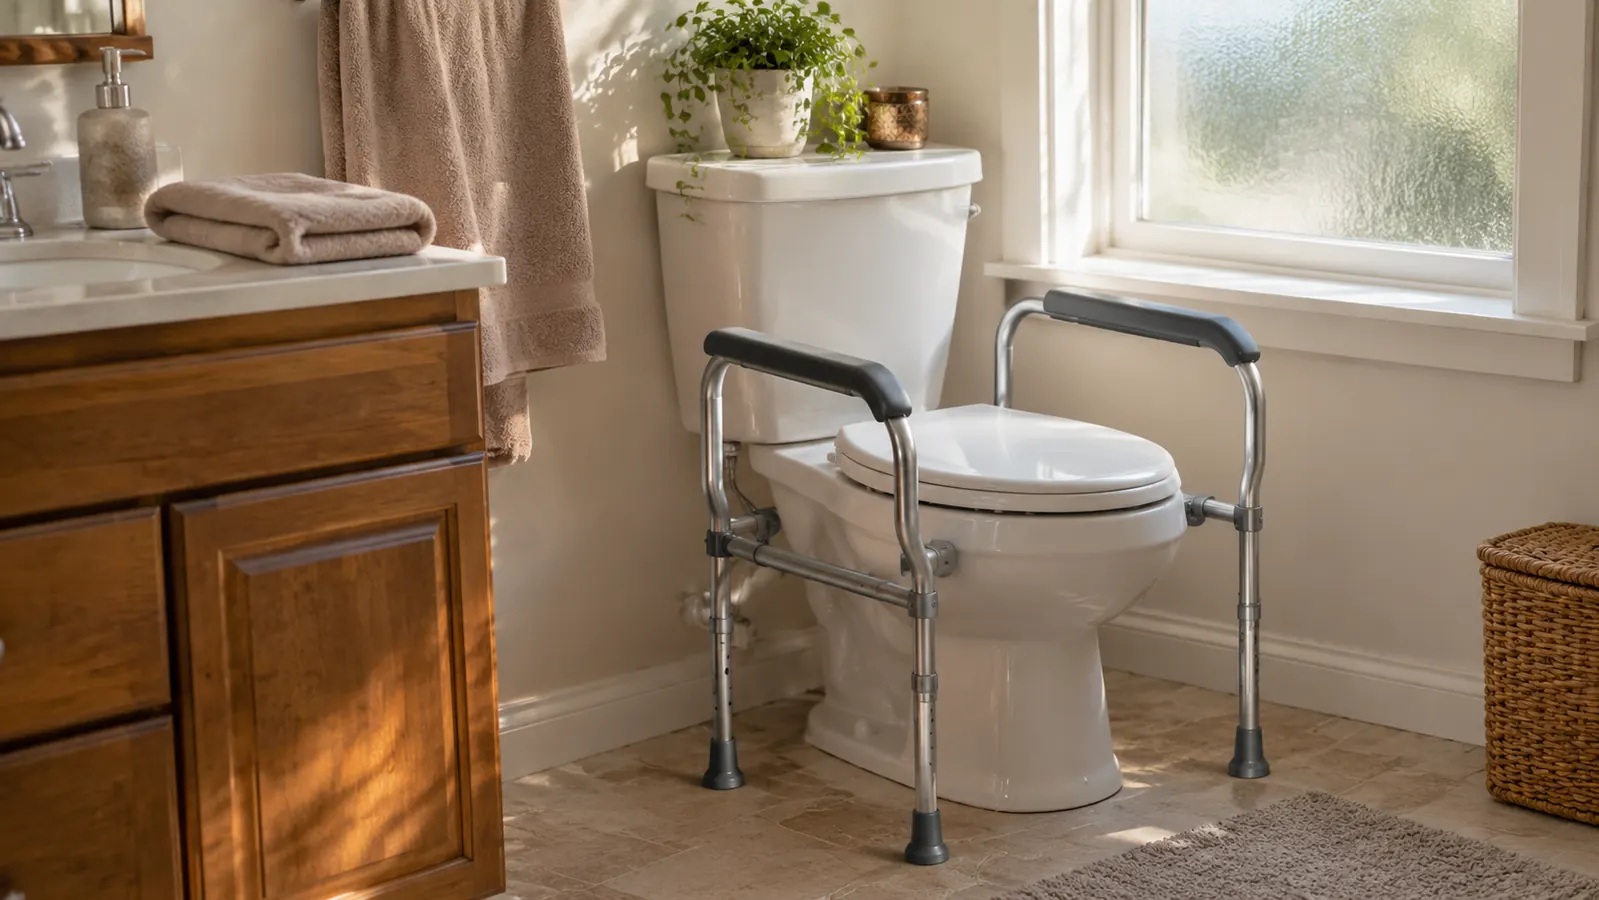
The first time I watched Marge push herself up off the toilet with one hand flat on the sink edge, the vanity shifted against the wall. She did not fall. Nothing cracked. But I spent 38 years crawling under other people's houses, and I know what a cabinet sounds like when it is being asked to do a job it was never built for. A sink edge is not a grab bar. Neither is a towel bar, which is what I had been leaning on from my side of the bathroom since my knee replacement in February. So in March I bought the Medline toilet safety rail, and I had it bolted on before the evening news was over.
I am not a doctor and I am not a physical therapist. What I am is a retired HVAC technician with a workbench in the garage and a strong opinion about anything that wobbles when you lean on it. The Medline rail is a bolt-on aluminum frame: two arm rests, legs that reach the floor, and a bracket that goes under the toilet seat using the holes the seat already uses. No drilling. No anchors in the tile. Nothing to patch if you change your mind, and at our age we do sometimes change our minds. The whole thing weighs 4.4 pounds and needs one wrench.
The rail went on in under an hour, and neither of us has leaned on the sink since
It mounts on the toilet's own seat bolts, no drilling, with the arms adjustable from 27.5 to 31.5 inches. Two people use it every day in this house.
Amazon Check Today's Price on Amazon →Before You Start
You need less than you think. An adjustable wrench or a pair of slip-joint pliers, a rag, a flashlight, and about forty minutes. A second set of hands is nice for the first fit and not required; I did it alone at 74 with a knee five weeks out of surgery. If your seat bolts are the plastic wing-nut kind, your fingers will do most of the work. If they are the old metal kind that have been sitting there since the Reagan years, spray them and walk away for twenty minutes rather than horsing on them. A bolt snapped off in the flange turns a forty-minute job into a plumber's visit, and plumbers do not work for free.
The rail fits toilets roughly 19 to 22 inches wide, the arms adjust from 18 to 24 inches apart, and the height runs from 27.5 to 31.5 inches. Ours is a standard-height toilet in a one-bathroom ranch house we have owned since 1988, and the bracket sat down over the existing holes without an argument. Before you take anything apart, set the rail on the floor next to the toilet and look at how the bracket lines up with the seat bolts. That sounds like nothing. It is the difference between one trip down to the floor and three.
Step 1: Take the Seat Off, and Keep the Bolts
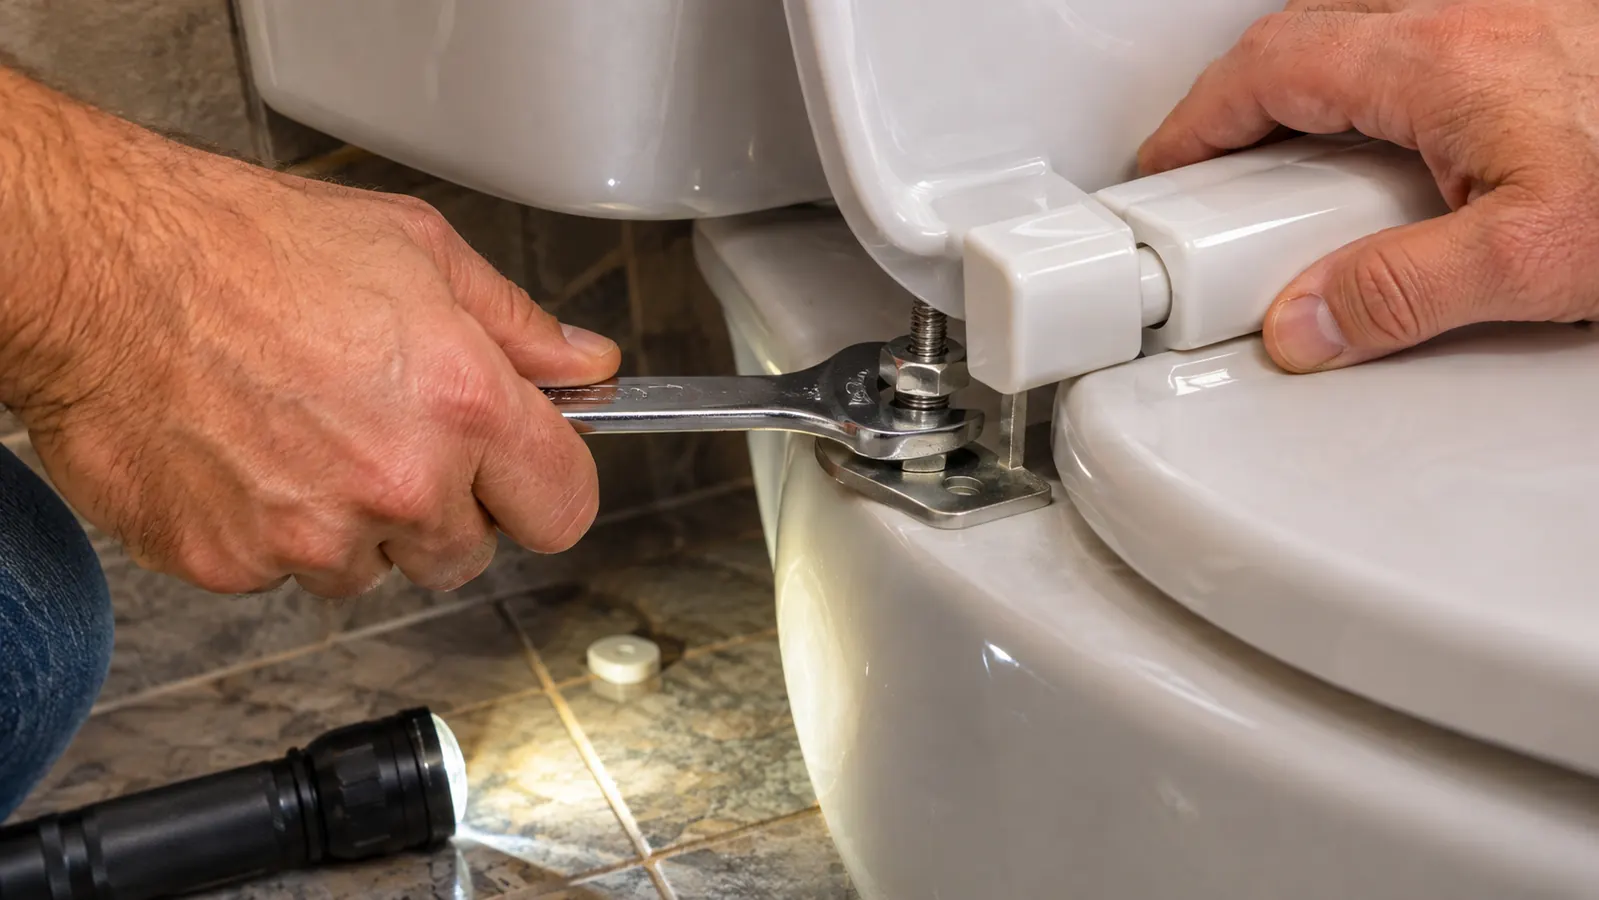
Lift the seat and the lid. At the back hinge you will find two bolts, usually with a plastic cap over each one that pops off with a flat screwdriver. Hold the nut underneath with your wrench and turn from the top, or the reverse if that is how yours was built. Then lift the seat off and put it somewhere it will not get stepped on, because a seat dropped on tile in a small bathroom is its own separate problem on a Saturday.
Here is the part people get wrong, and I have seen it done wrong. The seat bolts go back through the rail bracket first and then through the toilet, so the bracket ends up sitting between the seat and the porcelain. Lay the bracket over the holes, set the seat on top of it, and run the same two bolts down through both. Do not go hunting in a coffee can for longer bolts. The ones that came out are the ones that go back in, and if one is chewed up, buy the same size at the hardware store.

Step 2: Set the Arm Height Before You Tighten Anything Down
The arms adjust up and down over a range of 27.5 to 31.5 inches, which covers most everybody. Leave them loose for now. Get the seat and bracket snug but not cranked, stand the rail up, and then sit down on the toilet the way you actually sit when nobody is watching, not the way you sit in a doctor's waiting room.
Marge is 5 feet 4 and I am 5 feet 11, and we share one rail, so somebody has to compromise. My physical therapist gave me the rule I used: you want to be able to push up with your arm mostly straight, not folded up against your chest like you are doing a push-up in gym class. Set it for the shorter person in the house. A tall person can bend an elbow. A short person cannot grow one. For us that meant the lower end of the range, and I set it in March and have not touched it since.
Then test it. Sit down, put both hands on the arm rests, and push. If your shoulders hike up around your ears, the arm is too high. If you have to hunt around below hip level to find it, it is too low. You should be able to find that arm in the dark without looking, because at two in the morning you will be looking at the light switch and not at the rail.
Step 3: Set the Width Between the Arms
The arms slide in and out too, 18 to 24 inches apart, and this is the adjustment almost nobody bothers with. Too wide and you are reaching out to the side to push yourself up, which is the same motion that made the sink edge a bad idea in the first place. Too narrow and you are squeezing through a gap that ought to feel roomy.
Loosen both sides, sit down, and set them so your forearms land on the arm rests without your elbows flaring out past your ribs. Then measure both sides instead of eyeballing them. Eyeballing is how you end up with one arm an inch and a half further out than the other and a rail that feels crooked every single time you use it, long after you have forgotten why. Snug both sides a little at a time and alternate, the way you would torque a wheel.
Eight months in, the only tool that has touched this rail is a wrench on the two seat bolts, about every other month. The frame has not shifted, the coating has not scratched, and nothing has loosened on its own.
Step 4: Get Every Foot Flat on the Floor
The legs reach the floor and take the sideways load off the seat bolts, which is the whole reason this thing is steadier than a bar screwed into the wall. Get down there with a flashlight and look at each foot. Every one of them should sit flat on tile or vinyl. Not on the edge of a bath mat. Not on a throw rug. Not on the metal strip at the threshold. Fabric under a foot is a wobble waiting to happen, and you will not notice it standing up straight, only leaning.
Our bathroom floor slopes a touch toward the floor drain, the way a lot of older bathrooms do, and one leg wanted to hang in the air. I could have shimmed it with a folded matchbook, which is the kind of thing a man does at 9 p.m. and regrets at 7 a.m. Instead I moved the whole rail forward about an inch until every foot found solid floor, then re-snugged the seat bolts. If your legs adjust, use the adjustment. If they do not, move the rail, not the house.
Step 5: Check It Like You Mean It
Once everything is snug, grab both arms and push straight down, hard, the way you would push up off it on a bad morning. Then pull the arms toward you, gently at first and then with some actual intent. What you are watching for is movement at the two seat bolts, not a little flex in the frame. The aluminum will give slightly and that is normal. The bolts should not move, and neither should the seat.
Then sit and stand three times in a row using only the arms, no hands on your knees. If anything clicks, creaks, or shifts, find it now instead of at two in the morning when you are half awake. While you are down there, put a hand on the seat and try to slide it side to side. If the seat moves, the bracket is sitting crooked and needs to come up and go back down square.
In eight months I have re-tightened those two seat bolts about every two months. It takes ninety seconds and it is the only maintenance this rail has ever asked of me. I keep the wrench in the hall closet instead of out in the garage so that I actually do it when I think of it, which is the entire trick to keeping anything tight in a house.
What Else Helps
The rail solved sitting down and standing up. It did not solve the walk down the hall, and it did not solve the tub. Those are different jobs and I handled them separately, which is the only advice I have that is worth anything. Marge has arthritis in both knees and her balance has gotten less steady over the last few years, so the trip to the bathroom at night got a plug-in nightlight that comes on by itself, and the throw rug in front of the vanity went into the closet. Pepper, our black Lab, likes to lie in the doorway. We have gotten in the habit of putting a hand on the door frame and looking down before we step through, and the dog has not complained once.
For the tub, Marge uses a transfer bench that sits half inside and half outside, and I set the leg height so the seat lands just above the tub wall. For getting out of bed, she has a bed assist bar on her side of the queen bed, with the base slid between the mattress and the box spring and strapped to the frame. Both came after the rail, in that order. You fix the thing that worries you most first, then the next one, then the next. Our doctor is the one who told us to work down the list instead of buying everything in one Saturday.
The one thing I would say to a neighbor in the church parking lot: have somebody watch you use it before you decide it is set right. My physical therapist watched me stand up from that rail once during a session, and those ten seconds told me more than a week of reading reviews. If you have a therapist, ask. If you do not, ask your doctor whether you ought to. A rail set an inch wrong feels perfectly fine in the store and wrong at home, and you will not know which one you have until someone looks at you doing it.
Eight months, two re-tightenings, and one wrench
The Medline toilet safety rail mounts on the seat bolts, not the wall. Height adjusts from 27.5 to 31.5 inches, the arms sit 18 to 24 inches apart, and the aluminum frame is 4.4 pounds. Today's price is on the listing.
Amazon Check Today's Price on Amazon →