
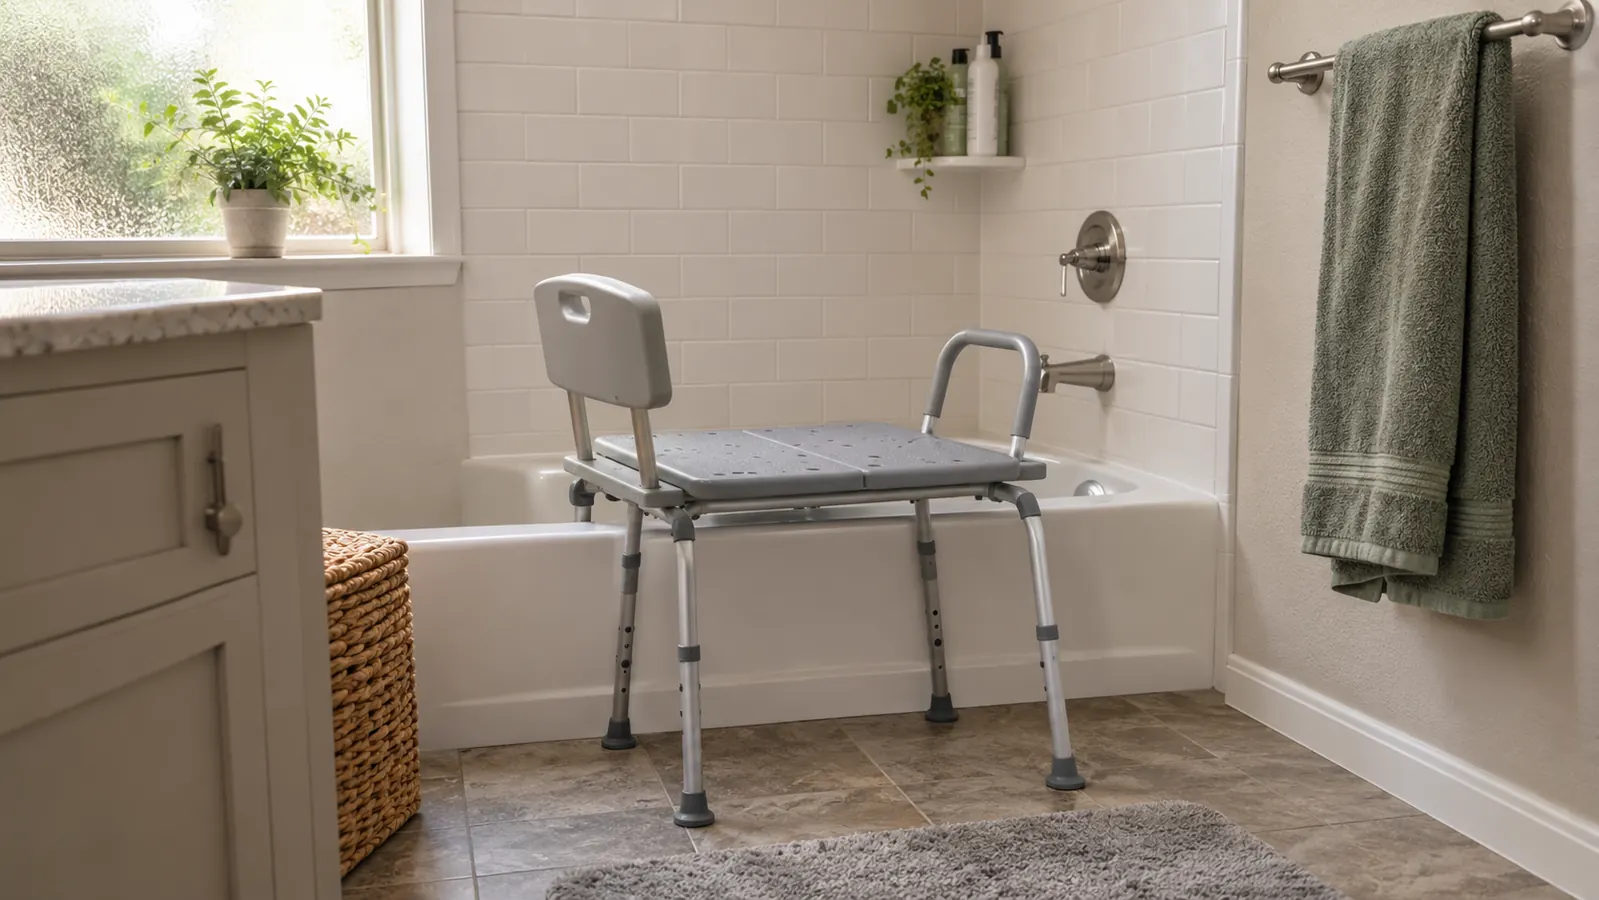
Marge got to where she did not much like bath time, and it had nothing to do with the water. We have one bathroom, it has a standard 60-inch tub-shower combo, and getting in meant lifting her leg over that tub wall while holding the towel bar with one hand. That towel bar is a towel bar. I put it up in 1994 and I remember exactly what I fastened it to, which was not a stud and not with lag bolts. It holds towels just fine. It was never built to hold a grown woman's weight while she balanced on one leg on a wet floor.
So in April of 2026 we bought a Drive Medical Tub Transfer Bench, the kind that straddles the tub wall with two legs standing inside the tub and two standing on the bathroom floor. Marge sits down on the outside portion and slides across. I set it up myself on a Saturday afternoon with a screwdriver and the small wrench that came in the box, and it took less than an hour, most of that spent measuring twice and adjusting legs three times. Seven months on, she uses it every single time she bathes, and it has not shifted once. Here is how I set it up, in the order I actually did it.
Sit Down on Dry Tile, Then Slide. That Is the Whole Idea.
The Drive Medical Tub Transfer Bench straddles the tub wall so nobody has to stand on one leg and step over it. Height adjustable legs, plastic seat, sturdy aluminum frame. Check the current leg-height range and today's price on Amazon.
Amazon Check Today's Price on Amazon →Step 1: Measure the Tub Wall and Both Floors Before You Unbox Anything
A transfer bench only works if the seat lands somewhere between your bathroom floor and the top of your tub wall, so measure first and order second. I used a tape measure and a pencil and wrote the numbers on the back of a church bulletin, which is where most of my measurements end up. Three numbers matter, and you want all three in writing before you cut a box open.
First, the height of the tub wall measured from the bathroom floor. Second, how far the inside tub floor sits below the top of that wall, because the inside legs have to reach down into the tub and still leave the seat level. Third, the flat floor space you have on the bathroom side, between the tub apron and the door swing or the vanity. The outside legs need somewhere solid and level to stand. On our floor that is about two feet of tile, and it is enough, but I have seen bathrooms where the door would hit the bench.
This bench adjusts from roughly 17.5 inches up to about 22.5 inches at the seat, and the seat is 15.5 inches deep. Our tub wall top sits comfortably inside that window, which is a large part of why the setup has worked as well as it has. Unbox it in the hallway, not the bathroom. Cardboard on wet tile is slicker than you think, and you do not want to be stepping around a half-assembled bench in the one room in the house with a hard floor.
Step 2: Set the Two Inside Legs Shorter Than the Two Outside Legs
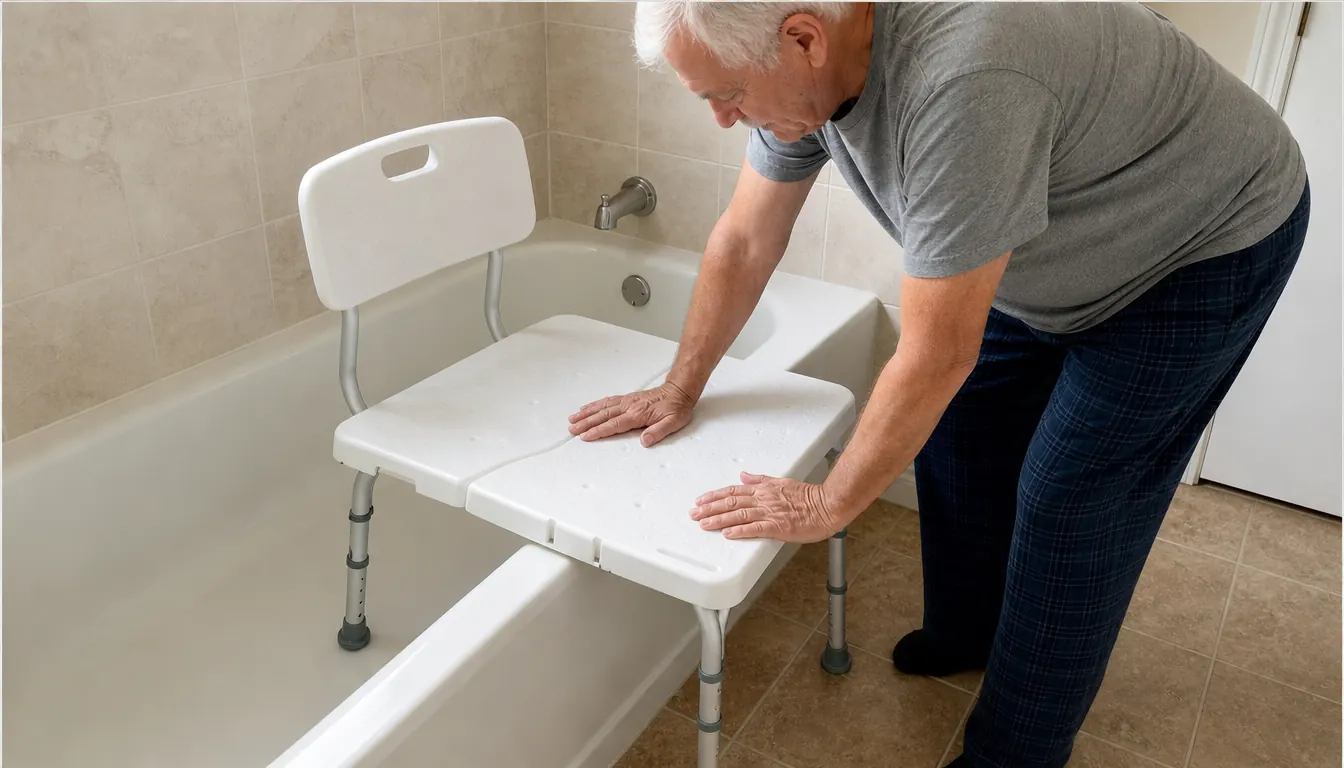
This is the step people rush through, and it is the one that decides whether the bench sits solid or rocks. The tub floor is lower than the bathroom floor. It has to be, or the water would not run to the drain. That means the two legs standing inside the tub get set shorter than the two legs standing on your tile, and you adjust them one at a time until the seat is level front to back and side to side.
I set ours so the seat sits just above the tub wall, high enough that Marge can slide across without her hip catching the wall, low enough that her feet reach the tub floor once she is all the way in. That is the balance you are looking for. Too high and she is stepping down into the tub, which defeats the purpose. Too low and she is dragging herself over the wall, which is what we were trying to stop in the first place.
Set it, then carry it into the tub and set it again. The legs will settle a little once there is weight on them, and a half turn here or there makes a difference. I put mine in, pressed down on the seat with both hands, listened for a click or a rock, took it back out, and turned one leg a notch. Three trips. That is normal. It is not a sign you bought the wrong thing.
Step 3: Straddle the Wall, Two Legs In and Two Legs Out
The bench goes across the tub wall so the seat faces into the tub. Two legs stand on the inside tub floor, two stand on the bathroom floor, and the seat bridges the wall between them. Line it up so the outer legs are flat on tile, not on the curved edge where the floor meets the baseboard, and not on a bath mat. A mat under a leg is a sliding surface, and a sliding surface is the thing you are paying to eliminate.
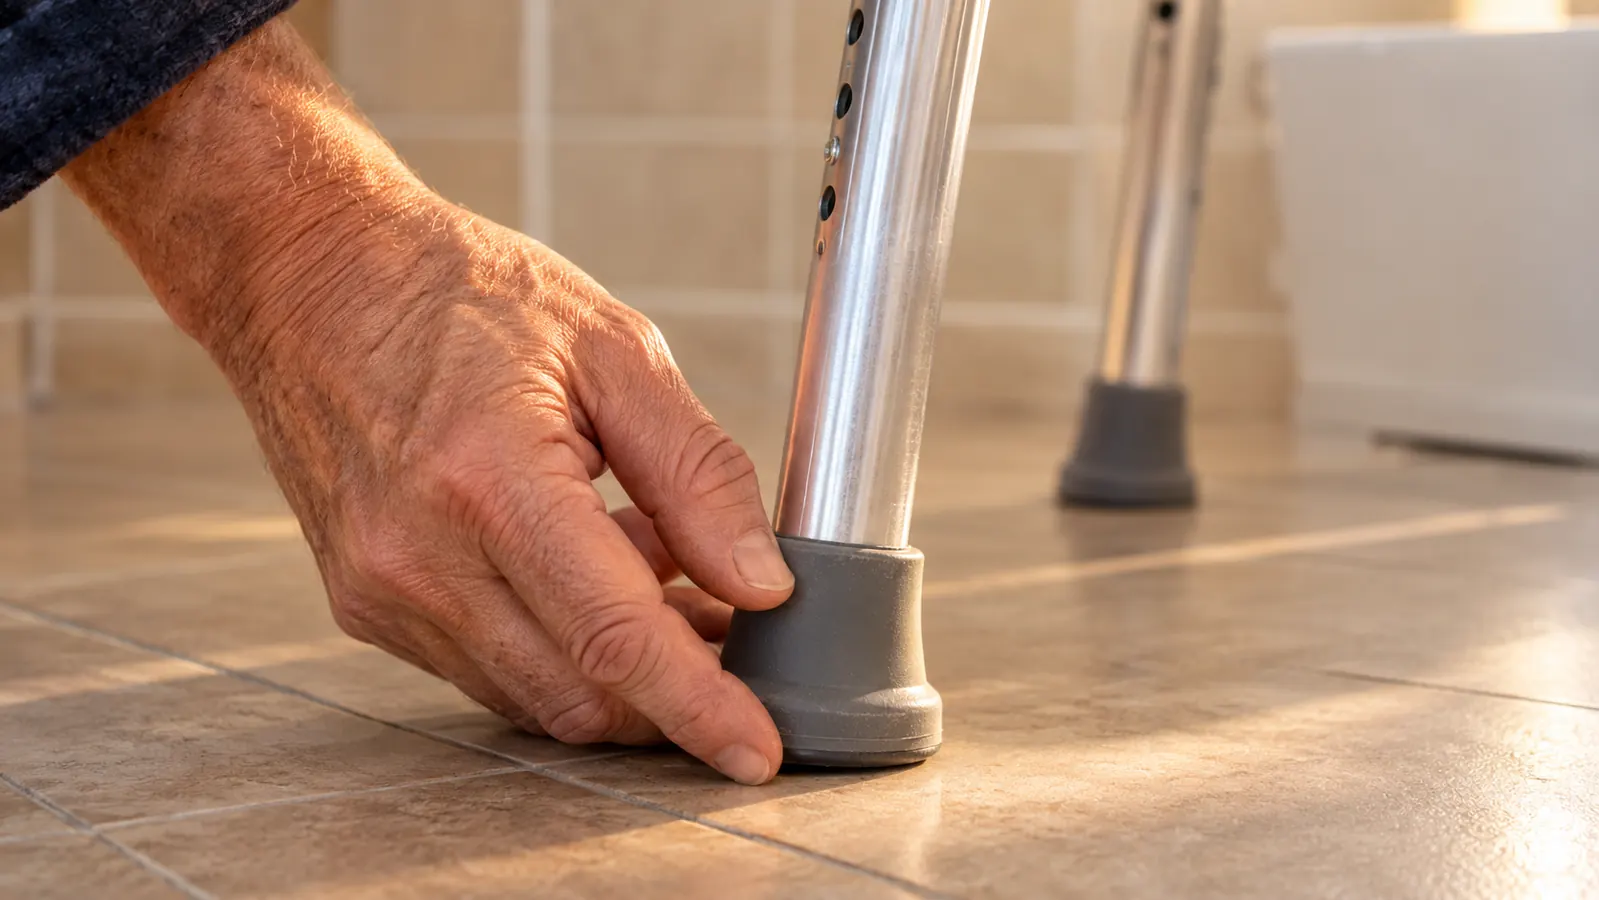
Check where the inside legs land. The floor of a tub is not flat, it curves up where it meets the wall. You want the rubber tips sitting on the flat part of the tub floor, not perched on that curve. I got down on my knees with a flashlight the first time to look, and I am not embarrassed about it. Ten seconds of looking beats a wobble you find out about the hard way.
Then check the shower curtain. Ours closes in front of the bench without the curtain bunching up on the seat, which matters more than it sounds like it does. If the curtain will not close, water goes on the floor, and a wet floor is the whole problem you are trying to solve. Nothing gets stored on the bench either. Not a bottle, not a washcloth, not a towel. It is a seat, not a shelf.
Step 4: Test It With Your Hands and Your Weight Before She Uses It
Before Marge ever sat on it, I did what I do with any ladder in a customer's house. I put both hands on the seat and pressed down hard, straight down, then pushed it front and back and side to side. You are listening for a leg lifting off the floor. If one lifts, that leg is too long, and you turn it in until it stops lifting. Then I sat on it myself, all the way in and all the way out, and slid across the way she would.
That is the honest test, and it is the reason I am glad I was the one setting it up rather than guessing from the picture on the box. If it holds a 195-pound man sliding across it, it will hold her just fine. It also let me find the spot where her hip would catch the wall, which I fixed by moving the bench an inch toward the faucet end before she ever tried it.
After that it is maintenance, and maintenance is small. Once a month I press down on the seat and look at the rubber tips where they meet the tub floor. Every couple of months I check the fasteners with the same wrench that came in the box. It is the same rhythm I use on the toilet rail, and it takes about as long as reading the church bulletin. Things that hold your weight are worth a look now and then.
Step 5: Learn the Sit-and-Slide Transfer, Then Add a Handheld Shower Head
The bench does not transfer anybody. The person does, and the technique is worth learning properly. My physical therapist walked us through it at the clinic, and I am not going to pretend I figured it out myself. Stand facing the bench with the backs of your legs against the seat, reach back with one hand, sit down on the outside portion, then bring one leg at a time over the tub wall. Hands stay on the seat beside your hips. Then slide across to the inside. Never stand on the bench. Never use it as a step.
The same weekend I set the bench up, I put in a handheld shower head. That was the only extra thing we bought for it, and it is what makes the bench actually useful rather than just safe. When you are sitting down inside a tub, a fixed shower head sprays over your head or into your face. A handheld one rinses where you aim it. I installed it in about twenty minutes with the fittings in the kit, and I shut the water off at the valve first, which is the part I will remind you about because I once did not.
Then move everything down. Shampoo, soap, the washcloth, all of it should be within reach from a seated position at tub level, not up on a shelf over your head. Marge keeps hers in a little basket on the tub ledge. Reaching up while seated on a wet surface is the exact motion this whole setup exists to avoid, and a basket costs less than a trip to the emergency room. A towel within reach from the seat, too, so she is not standing up wet and reaching across the room.
What Else Helps
A grab bar anchored into the framing is a better handhold than a towel bar, and it is on our list. I have not done that yet, and I will not pretend otherwise. If you do it, put it into studs or use proper toggle anchors rated for the load, not drywall screws, because a grab bar that pulls out of the wall is worse than no grab bar at all. The transfer bench is what lets Marge bathe without holding onto anything, so the towel bar can stay a towel bar for now.
Keep the floor dry and the path clear. We put a night light in the bathroom, and we keep the hallway clear because Pepper, our old Labrador mix, likes to lie in doorways. A dry towel on the floor outside the tub, a mat that stays off to the side where the legs do not land on it, and nothing left on the floor to step around. Small things, but they are the same small things every time.
And keep the jobs separate. The bench is for getting in and out of the tub. The toilet rail is for sitting down and standing up at the toilet. The bed assist bar is for getting out of bed. That sounds obvious written down, but in a house with several of these things, it is easy to lean on whichever one is closest, and they were not built for that. Anything about fit, balance, or fall risk goes to our doctor or my physical therapist. I fix things. I am not qualified to tell you what your knees can do.
Two legs stand inside the tub and two stay on the bathroom floor. That is the entire idea. You sit down on dry tile and slide, instead of standing on one leg and stepping over a wall.
Seven Months, Every Bath, No Wobble
One setup afternoon in April and it has not moved since. The Drive Medical Tub Transfer Bench adjusts at the legs, straddles a standard tub wall, and comes with a limited lifetime warranty. Check the current height range and today's price on Amazon.
Amazon See the Bench on Amazon →